We have excitedly watched with anticipation, the journey of Sway and Sarah as they tackle renovating their 1978 first home, transforming it room by room!
Sway & Sarah Build document their journey with a step-by-step guide to help inspire and educate others on how to renovate their homes on a budget.
As self-taught DIYers they decided to build a fireplace, a first for them – and we were keen to chat through the process, discover the highs and lows, and what they hoped to achieve as they took on the adventure to reimagine their living room space.

Why were you drawn to an electric fireplace rather than gas or wood?

Our favorite color lighting options consist of orange and red.
How did the Ambe Multi49 suit your needs and vision for the living room?
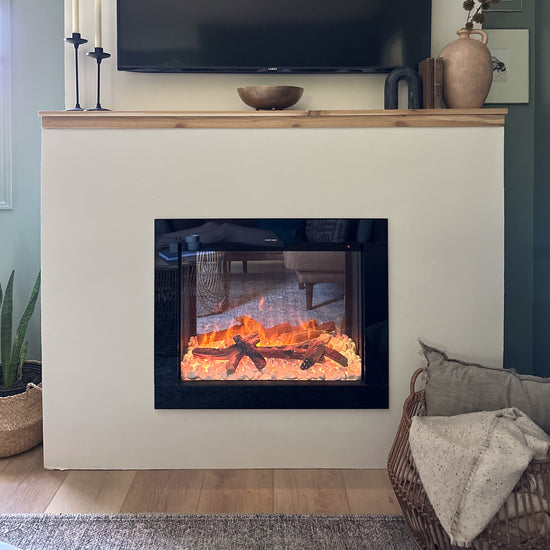
We had been dreaming about a corner fireplace in our living room and the Ambe Multi Series checked all the boxes. We chose the corner reveal as it feels much more high-end and unique – it really fits the space well. Ambe gives you many different fuelbed options, so we were able to choose the style to fit the overall look we desired.

Can you talk us through the surround design, materials, and why you chose this?
How did you find the installation process?

Fireplace installation starting to take shape!
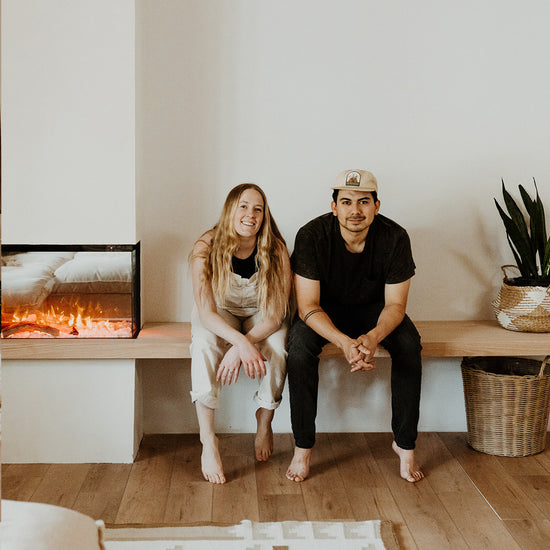
Next up was the bench which took about two to four days. We started by cutting out the plasterboard so we could screw the floating bench brackets into the studs. We had to re-plaster and mud in multiple layers to get it looking smooth. Once the floating brackets were installed, we were able to build the bench. This involved cutting the pieces to fit, then glueing them together allowing it to dry overnight – a quick sanding and clean-up resulted in a clean and finished look, screwing into the brackets to secure.
Did you run into any challenges, and if so, how did you work through these?
Yes, challenges were mudding the cubby shelves – the corners are the hardest to get clean edges, and making sure framing is level as most people’s walls are not, so making sure we had the laser level handy was important. We also struggled to make the edges seamless where the plasterboard met the fireplace but was able to caulk around it with a heat-resistant caulk to clean them up.
How do you feel about the finished result?
We are so happy with how the fireplace turned out! It really is the highlight of our living space and we receive tons of compliments from family and friends when they come over! We enjoy curling up and feeling cozy for movie nights together with our pup, Murphy, and turning on the fireplace for added ambience – even in the summertime.